Curly hair requires special care and techniques when it comes to drying. While a diffuser attachment is great for enhancing curls, not everyone has access to a hairdryer or wants to use heat on their hair.
Fortunately, there are many effective diffuser-free methods for drying curls beautifully. In this comprehensive guide, we’ll explore natural air drying, scrunching, plopping, clipping, and other techniques for achieving defined, hydrated curls without extra tools.
Key Takeaways
- Embrace air drying methods like scrunching with a microfiber towel or t-shirt and plopping for heat-free styling.
- Apply a leave-in conditioner or curl cream before drying to hydrate and define curls.
- Use techniques like scrunching, clipping, and plopping to enhance your hair’s natural texture and shape as it dries.
- Avoid touching your hair while it air dries to preserve curl formation and reduce frizz.
- Experiment to find what works best for your own hair type – some swear by plopping while others prefer air drying overnight.
Embrace the Air Drying Method
For truly diffuser-free drying, air drying is the way to go. Allowing your curls to dry naturally in the open air prevents heat damage and keeps frizz at bay. It may take longer than using a dryer, but the results can be worth it. To air dry curls:
- Apply a leave-in conditioner or curl cream while hair is still damp after washing to prep hair for drying.
- Scrunch out excess water with a microfiber towel or t-shirt instead of rubbing – this prevents frizz.
- Let hair air dry completely by itself, scrunching occasionally as it dries to enhance natural texture.
- Avoid touching or disturbing hair while air drying to allow curls to form undisturbed.
- For overnight air drying, try techniques like plopping or pineappling to preserve curl shape.
Use a Microfiber Towel or T-Shirt to Dry Your Hair
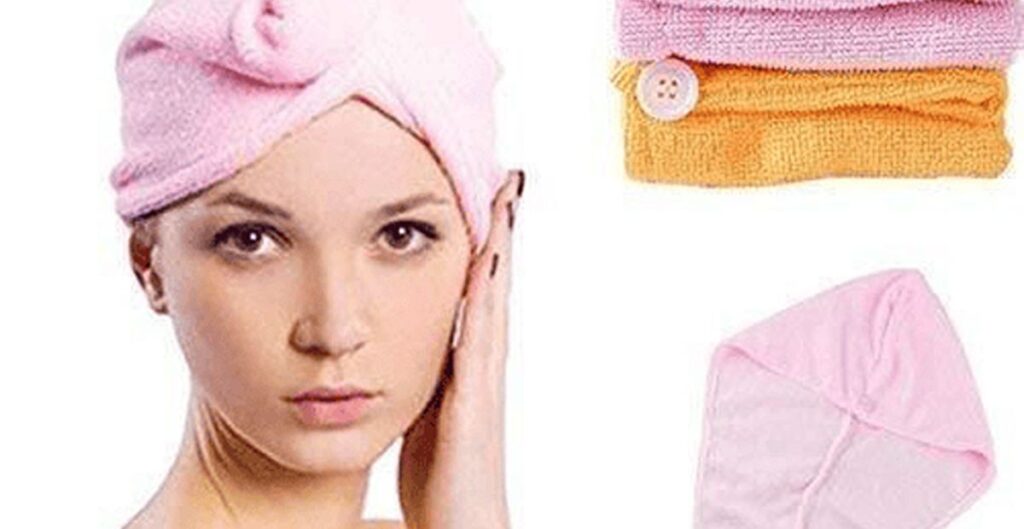
Gently scrunching out excess water with a microfiber towel or t-shirt is a great diffuser-free method to start the drying process. Absorbent cotton products can cause more frizz, so opt for a microfiber towel’s soft fibers or an old t-shirt that are gentler on curls:
- After cleansing and conditioning, wrap hair up in the microfiber towel or t-shirt and gently squeeze or scrunch to absorb moisture without disrupting curl clumps.
- Let hair continue air drying with the product left in for extra hydration. Scrunch occasionally as it dries for enhanced texture.
Apply a Leave-In Conditioner or Curl Cream
Leave-in products are a must for diffuser-free drying, as they hydrate and define curls as they form. Look for lightweight formulas for your hair type:
- Apply a pea-sized amount of leave-in conditioner or curl cream to soaking wet hair after cleansing.
- Work the product in with prayer hands and scrunch for absorption while preserving curl clumps.
- This seals in moisture so curls don’t frizz as they air dry. Try popular options like EIMI Fresh Up Leave-In or Curlixir Balm.
Scrunch Your Hair with Your Hands to Enhance Natural Texture
Scrunching is a key diffuser-free technique. It mimics the effect of a diffuser without any heat or tools needed. Just your hands!
- After applying leave-in, scrunch curls up from bottom to top with hands or t-shirt while still wet.
- This lifts roots, enhances curl definition and shape as hair dries without disturbing formed curls.
- Continue scrunching occasionally as hair dries for big, hyrdrated texture.
Try the Plopping Technique to Define Your Curls
Plopping uses a t-shirt to absorb excess moisture from hair while preserving curl shape as it air dries. It’s perfect for creating definition sans diffuser:
- After applying leave-in, gather hair on top of head in a loose ponytail with a long-sleeved t-shirt.
- Twist hair up into a “custard” and wrap the shirt snugly around it.
- Let plop for 10-30 minutes while padding absorbed moisture.
- Unwrap and fluff roots with fingers for big hair when dry.
Use Hair Clips to Create Volume at the Roots
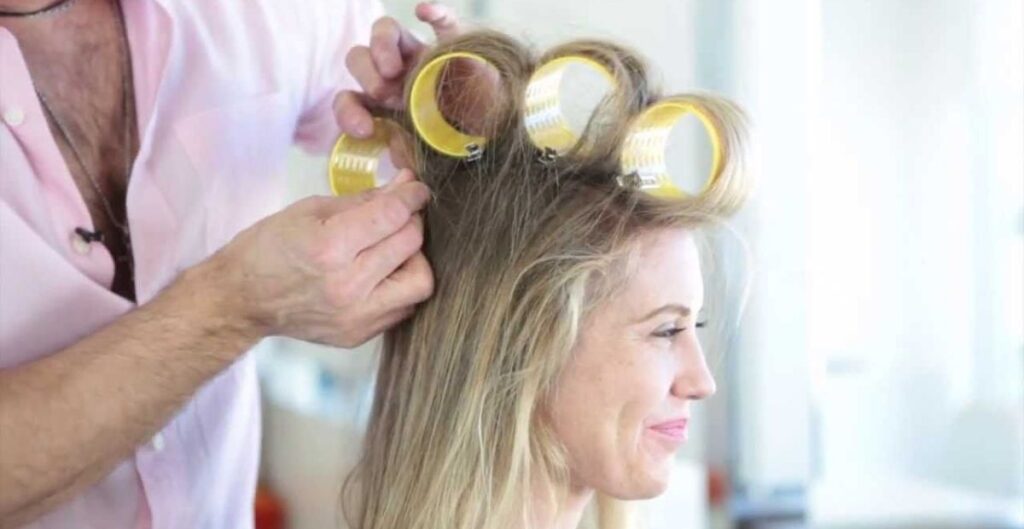
For extra body at the roots during diffuser-free drying, use claw clips or large barrettes. This lifts roots as hair dries:
- Clip small sections of hair close to the root area while plopping or air drying.
- Let hair dry fully before unclipping to reveal lift and volume at the crown.
Avoid Touching Your Hair While it Dries
Resist the urge to fluff or fix your hair while it’s drying if going diffuser-free. Disturbing newly formed curl clumps can cause frizz. Let curls form freely as they dry for the best results.
Try the Pineapple Method to Preserve Curls Overnight
This technique uses a scrunchie to preserve curl formation while sleeping. It’s perfect for overnight or extended air drying:
- Gather wet hair up in a loose ponytail on top of head in a “pineapple.”
- Secure with a scrunchie, buff, or silk or satin scarf to prevent curls from flattening.
- Let air dry fully overnight untouched for deeply hydrated ringlets in the morning.
Use a Wide-Toothed Comb or Denman Brush to Detangle
As curly hair dries naturally, detangling is key to preventing knots and frizz. Use a wet brush to gently separates curls:
- With hair soaking wet and slathered in conditioner, start at ends and gently brush upwards in sections.
- A Denman brush or wide-tooth comb distributes conditioner and prevents damage better than regular brushes.
Apply a Hair Gel or Mousse for Extra Hold and Definition
For long-lasting definition sans diffuser, scrunch in a gel or mousse after leave-in but before full drying:
- Look for humectant-heavy gels like EIMI Boost Bounce Mousse which don’t require diffuse-drying to cast.
- Apply sparingly to soaking wet hair and scrunch until fully absorbed before letting air dry.
Use a Hairspray to Set Your Style in Place
Once curls are 100% dry, mist with a flexible hold hairspray like Curlixir Sky Hairspray. This sets the style for long-lasting definition, movement and shine without crispy bumps.
Experiment with Different Techniques to Find What Works Best for Your Hair Type
Not all methods work for every curl type. Play around to learn your hair’s preferences. Be patient – it can take practice to perfect diffuser-free routines. And protect curls nightly to maintain moisture-rich results.
First, Blot Hair Dry with a T-Shirt
After cleansing and conditioning curly hair, wrap wet locks in an old cotton t-shirt. Gently “blot” or scrunch the shirt against the head to absorb access moisture. This wicks away water without causing frizz.
Plop Your Curls with the Same T-Shirt
To preserve curl clumps and avoid excess frizzing as hair air dries, try “plopping.”
How to ‘Plop’ Curly Hair:
- Wet a cotton t-shirt with water and wring it out until damp but not dripping.
- Take down wet hair and gather it on top of your head.
- Twist the t-shirt into a “curl” shape and wrap it around the hair bundle.
- Twist the shirt closed at the nape of the neck to secure it in a turban-like style.
- Let it air dry in the plop for 15-30 minutes before unwrapping curls.
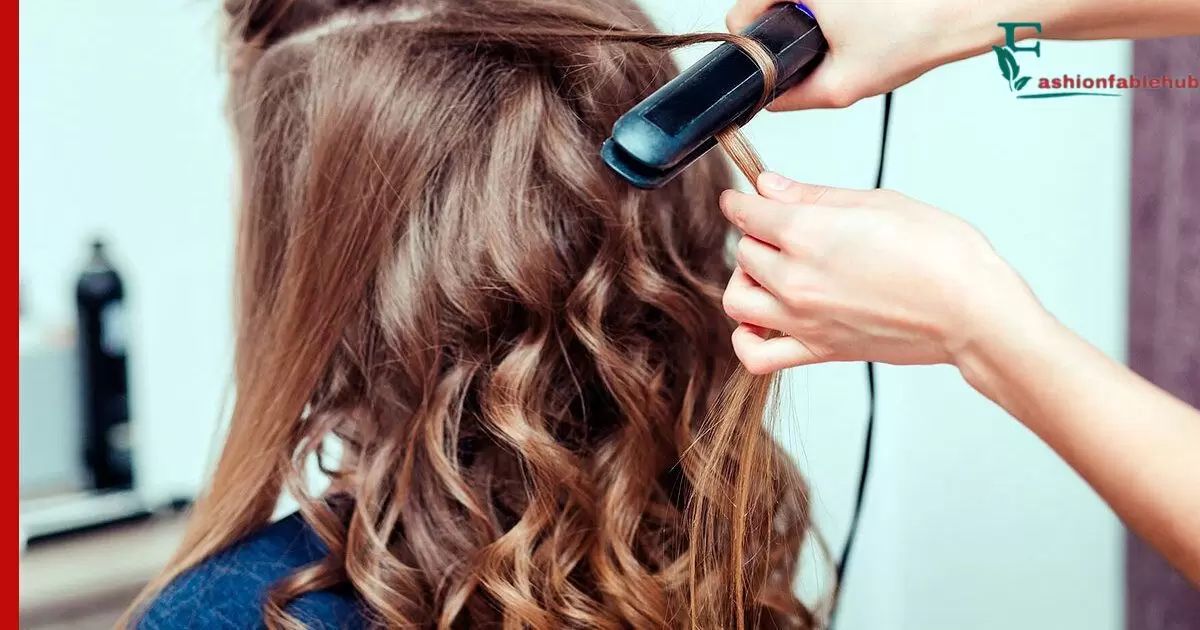
Diffuse Your Curls for Boosted Definition
While air drying alone gives nice results, diffusing curls with a hairdryer on its lowest, coolest setting can provide extra volume and lift sans heat damage when done properly.
How to Diffuse Dry Curly Hair:
- Apply a leave-in cream or gel to soaking wet hair.
- Section hair and clip up parts that aren’t being diffused.
- Hold the dryer 6-12 inches away and pulse the power button to diffuse sections.
- Move the diffuser around gently for even drying without frizz.
- Diffuse for only 5-10 minutes to avoid over-drying curls.
- Let air dry the rest of the way for a soft, shiny finish.
Air Dry Your Curls for Heat-Free and Diffuser-Free Styling
The simplest method is to let curls air dry naturally without any tools. It takes patience but allows hair to form freely:
How to Air Dry Curly Hair:
- After cleansing and applying a leave-in conditioner, scrunch out water with a microfiber towel or t-shirt.
- Optionally, plop hair onto the towel/shirt wrapped around the head to absorb moisture for 10-30 minutes.
- Allow curly hair to dry completely in the open air. Refrain from touching or disturbing forming curls.
- Scrunch in gel, mousse or cream if desired before air drying for more hold.
- Continue to scrunch occasionally as hair dries to enhance curl definition without frizz.
- Let air dry overnight on a satin pillowcase if needed.
More Tips for Drying Curly Hair
1. Curate a Curly Hair Care Routine
Consistently nourishing, cleansing and styling curls according to its needs tames frizz and supports healthy growth.
2. Build Up Product According to Your Curl Type
Use lighter creams, lotions or balms for looser curls and thicker butters, custards or gels for tighter coils. Tailor what works best.
3. Go Easy on the Brushing and Combing
Brush and detangle curly hair only when soaking wet with conditioner to prevent knotting and breakage.
4. Protect Styles Overnight
Use satin pillowcases, bonnets or pineappling to prevent frizzing and preserve curls while sleeping.
5. Deep Condition Regularly
Heavy moisture masks keep curls soft, supple and prevent dryness Better moisture leads to better curls!
6. Consider Your Water
Hard water makes frizz flare up. Use a filter pitcher if needed to curb minerals that strip curls.
7. Be Patient With the Process
Learning to work with naturally curly hair takes finesse and practice. Stick with a routine and curls will get bouncier.
Conclusion
Drying curls without heat tools like a diffuser is entirely possible through simple techniques that work to enhance natural texture and shape. While it may require more time commitment than a quick blast with a hairdryer, diffuser-free methods deliver effectively defined, moisturized curls perfectly suited for the natural hair movement.
This guide has outlined a variety of strategies to try, from embracing air drying to utilizing the plopping and pineappling methods. Pairing leave-in products with scrunching both during and after the drying process does wonders for curl clumps.
Detangling with a wide-tooth comb when wet and sealing with gel or mousse adds longevity. Knowing your own curl type will help refine the right routine over time as well.

As a seasoned fashion enthusiast with over 6 years of hands-on experience, I’m dedicated to sharing my expertise and passion for all things hair and earrings.