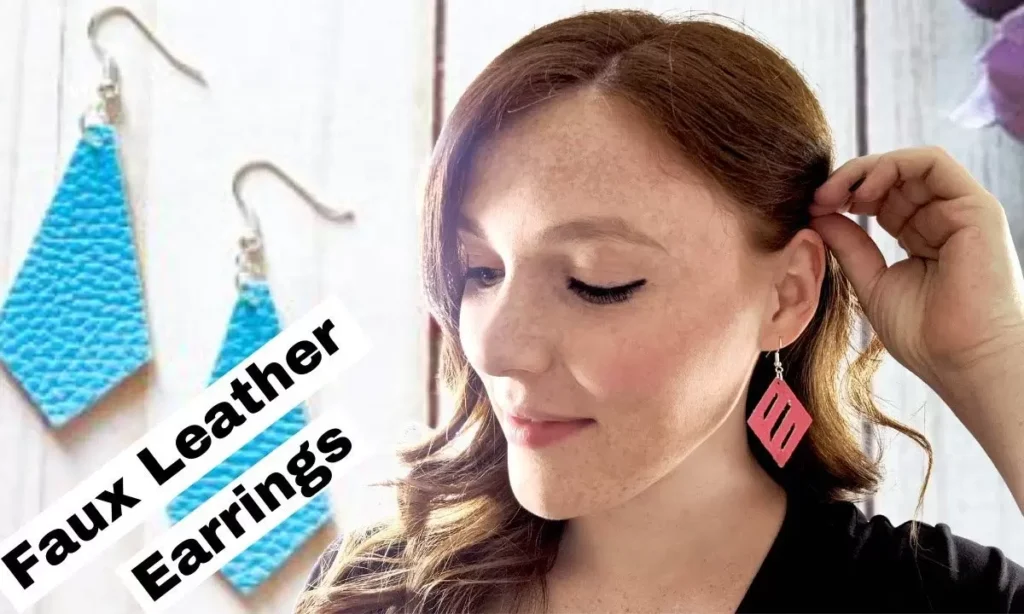
Making leather earrings is a fun craft that allows you to express your creativity and make stylish jewelry. This beginner’s guide provides tips on choosing materials like leather strips, as well as basic tools needed to punch holes and attach findings.
Follow the step-by-step instructions and suggestions for customizing your designs. By following this guide, anyone can learn to make gorgeous leather earrings.
The Beginners Guide to Making Leather Earrings
Making leather earrings is a fun and inexpensive craft that allows you to be creative and make a unique accessory. Leather works well for earrings because it is durable and looks stylish. This beginner’s guide will provide tips and instructions to get you started in crafting beautiful leather earrings.
What are leather earrings?
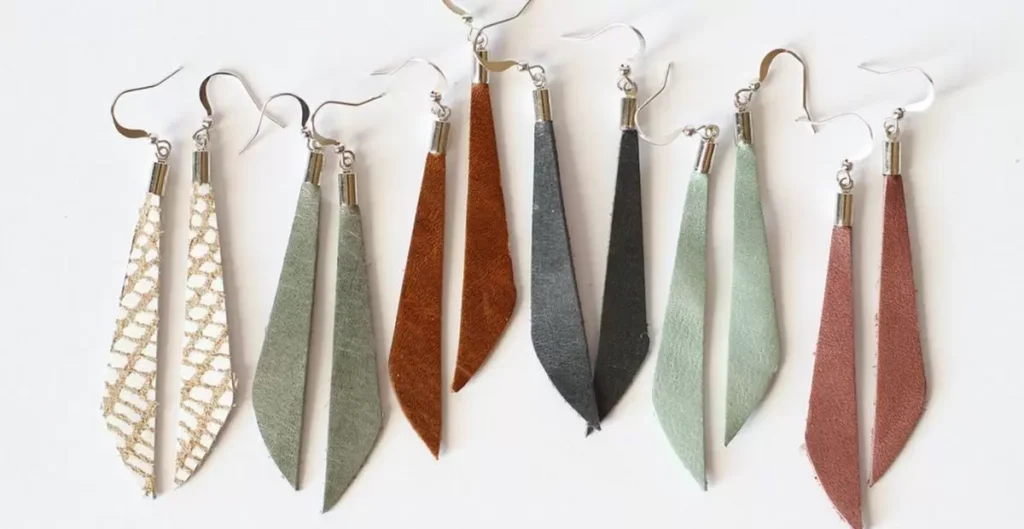
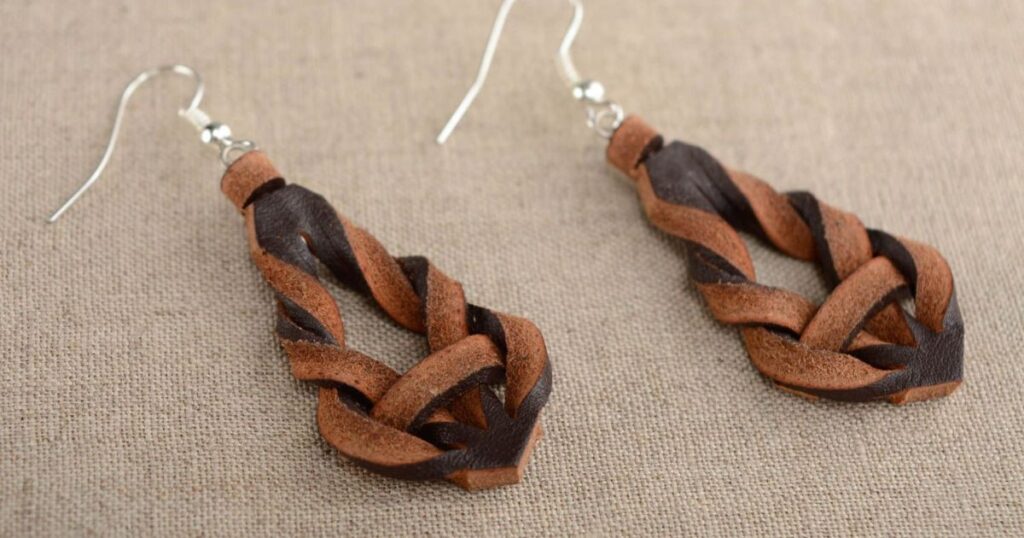
Leather earrings are earrings made from leather material. Leather is a durable material that is lightweight and comes in a variety of colors and textures. It can be stamped, tooled, etched, or embroidered to create unique designs. Common leather types used include vegetable-tanned leather and suede. Earrings are typically made in small pieces or strips of leather that are attached to earring wires for wearing.
How to get started with making leather earrings
To begin, you will need the basic tools and materials which are inexpensive and readily available. Here are the basic steps:
- Purchase leather sheets, strips or leather cord in your preferred color and thickness. Suede and vegetable-tanned leather work well.
- Obtain earring findings like stainless steel ear wires, head pins or stud backs in the appropriate size for your leather pieces.
- Use leather punches, hole punches or an awl to create holes in the leather for attaching to earring findings.
- Using strong thread or fine chain, attach the leather pieces to the ear wires or backing. For studs, glue the backing to the wrong side of the leather.
- Once attached, shape the leather as desired using molding tools or your fingers. Edges can be burnished or folded.
- Allow to dry completely before wearing. A finish like leather conditioner or sealant will protect the earrings.
With some creative designing and simple handiwork, you’ll be crafting homemade leather earrings in no time!
Tips for Success in Making Leather Earrings
Here are some additional tips for successful leather earring making:
- Use quality leather and tools for a long-lasting and professional finish. Sustainably-sourced leather holds up best.
- Practice punching holes in scraps first until you get a clean cut. Go slowly for precision.
- Reinforce holes from the back side with glue or extra punching to prevent tearing.
- For intricate designs, use a Cricut or DIY cut file to cut leather patterns for stamping or gluing onto earrings.
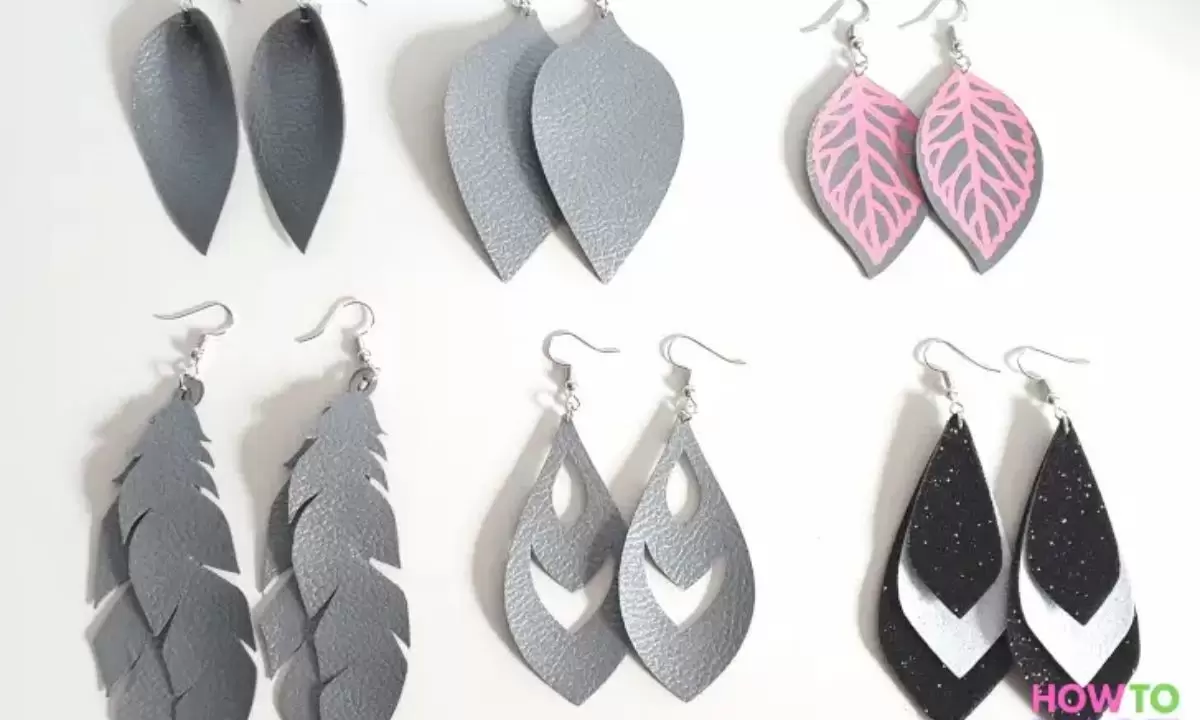
- Add dimension with texture like tooling, stamped designs or embroidered threadwork.
- Fold, curl or shape edges for interest. A teardrop or folded design elevates a simple leather earring.
- Seal finished earrings to protect the leather and prevent snags on clothing.
- Be creative! Try different leather colors or textures for unique styling.
With patience and the right techniques, you’ll be crafting show-stopping handmade leather earrings in no time. Enjoy the process of creating one-of-a-kind accessories.
What tools do you need to make leather earrings?
The basic tools needed to start making leather earrings include:
- Leather – 3oz or thicker leather works best for earrings
- Earring findings – stainless steel ear wires, stud backs, head pins
- Leather punches – hole punch set or leather punch
- Hammer or mallet – for use with leather punches
- Awl or punch – to pierce holes in leather
- Needle and thread – to attach earrings to ear wires
- Chain nose or round nose pliers – for bending or shaping wires
- Ruler and cutting blade – to measure and cut leather
- Beeswax or stain/sealant – to finish earrings
- Molding tools – to shape or decorate edges
Having the right tools makes the job easier. Leather punches create clean holes perfectly sized for earring hardware. Needle nose pliers smoothly form ear wires. A good cutting blade results in straight cuts of leather.
What is the best leather to use for earrings?
The leather type used depends on the look and feel you want for your earrings. Here are good options:
- Vegetable-tanned leather – A durable all-purpose leather that is easy to work with with a nice sheen. Recommended for beginners.
- Suede leather – Softer leather with a velvety texture. Requires edge treatment to prevent fraying. Often comes pre-dyed in colors.
- Leather cord – Round cord or leather strip in various diameters. Easy for beaded or knotted wraps.
- Stamping leather – Specifically designed for better impression from tools like stamps or embossers. Takes detail cleanly.
- Exotic leathers – Alligator, snake for luxury. Require more advanced techniques.
For earrings 3oz (thick credit card thickness) and thicker leather holds shapes well. Avoid too thin which may bend out of shape. Test scraps first before projects.
How can I make earrings at home?
Making earrings at home is simple and rewarding. Here are step-by-step instructions:
- Select your leather type and measure/cut into small strips or shapes for each earring piece.
- Use an awl, punch or nail to pierce holes for stringing. Reinforce from behind.
- Thread needle and string each piece onto head pins or ear wires, knotting securely behind.
- For dangles, string beads or additional leather pieces according to your design.
- Curl, fold or shape edges using tools or your fingers to add dimension.
- Seal or condition finished earrings and allow to dry fully before wearing.
- Display and gift your homemade accessories! No special tools needed – just time, creativity and basic supplies.
Home earring crafting allows unique personalized designs without high costs. Kids can get involved too through simple stringing styles. Most of all, it’s a relaxing and rewarding way to spend time.
How do you put holes in leather earrings?
The main methods for putting holes in leather for earrings are:
- Leather punch – A hand tool with sharp cutter. Place punch where wanted and hit firmly with mallet for clean holes.
- Awl – Pointed tool for piercing holes by pushing or rubbing against leather edge repeatedly.
- Hole punch – Plier-type tool with circular dies. Squeeze to cut holes. Best with cardboard first for reinforced holes.
- Drill Place leather on wood and use small drill bit at low speed, slowly applying pressure. Goes slowly.
- Rotary tool Burs or tiny drill bits fit in rotary tools like Dremel for accurate holes.
Go slowly, avoid stretching leather and reinforce holes’ backsides to prevent tearing over time. Practice first until you get a feel for even, centered holes in your leather. Accuracy is key for nice finished earrings!
Can you sew a hole in leather?
Yes, you can sew holes in leather as reinforcement or for repairing damaged holes. Here are techniques:
- Use a large non-tapered leather needle for sturdiness. Hand sewing works best.
- For reinforcement, sew backstitch all around the inside of the hole for strength and security.
- For a tear or damaged hole, place tear under needle and overlapping running stitches to bring edges together.
- Use strong leather thread or waxed nylon upholstery thread formulated to withstand abrasion.
- To prevent loosening over time, apply a dab of clear nail polish or glue to knotted ends.
Sewing adds needed reinforcement and strength to stressed points, so sewing holes is recommended for leather that will see wear like belts or bags. Use small tight stitches for an inconspicuous repair job.
What is used to make holes in leather?
The main tools used to make holes in leather include:
- Leather punch – Creates clean cylindrical holes in one press. Good for standard sizes.
- Awl – Manually pierces holes one at a time. More control over size and placement than punches.
- Hole punch pliers – Pliers with interchangeable circular dies for standard hole sizes.
- Drill/burs – For very small holes and in hard leathers. Goes slowly to avoid tearing.
- Rotary tool – With small drill bits, cuts clean precise holes in any material including leather. More control than drill.
- Punches and stamps – Create wider openings in one press for decorations like punching patterns or stamped designs.
For earrings, the most common options are leather punches for clean standard holes, or an awl for smaller bespoke openings placed precisely by hand.
FAQs
How to stiffen leather earrings?
To stiffen and shape leather earrings, apply a leather conditioner, sealant or glue to the leather. Rub it in well until the leather is saturated.
How to cut leather at home?
To cut leather strips or shapes at home, use a utility knife or leather craft blade and a metal straightedge. Place leather on a firm cutting surface like wood and apply firm even pressure as you cut for a clean edge. Change blades often for best results.
Which paper is used to make earrings?
The paper most commonly used for making earring backings is called stiffener paper. It is thick, coated paper that reinforces the back of earring designs. It comes pre-punched with holes to easily string onto posts or wires for wearing.
Conclusion
Making your own leather earrings is a rewarding way to create unique handmade jewelry while learning new leather crafting skills. With just a few basic tools and supplies, you can design beautiful earrings to wear or give as gifts. Taking your time to practice techniques like punching holes and attaching hardware will ensure high quality results. Most importantly, enjoy the creative process of crafting one-of-a-kind leather accessories.

As a seasoned fashion enthusiast with over 6 years of hands-on experience, I’m dedicated to sharing my expertise and passion for all things hair and earrings.