Stud earrings are a timeless accessory, but removing them can sometimes be tricky. Whether you’re a seasoned earring wearer or taking out studs for the first time, this guide will walk you through the process step by step. We’ll cover everything from gathering the right tools to dealing with stubborn earrings, ensuring you can confidently and safely remove your stud earrings without any fuss.
Gather Necessary Tools
Before you start, it’s crucial to have the right tools at hand. This will make the process smoother and help prevent any potential issues. Here’s what you’ll need:
- Clean hands (wash them thoroughly with soap and water)
- A mirror
- Good lighting
- Rubbing alcohol or ear care solution
- Cotton swabs or pads
- A small pair of pliers (for stubborn earrings)
- A clean towel or tissue
Having these items ready will ensure you’re prepared for any situation that might arise during the removal process.
How to Remove Stud Earrings Easily
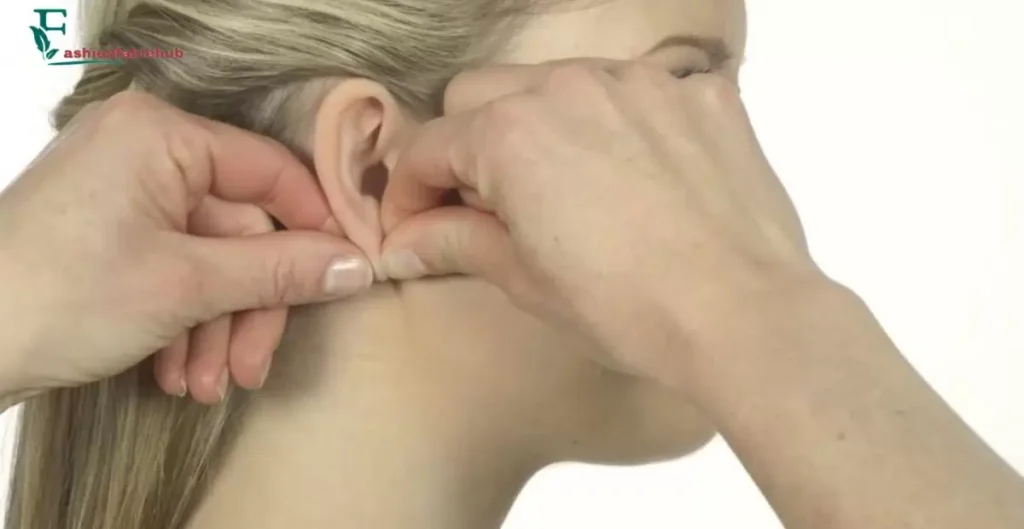
For most people, taking out stud earrings is a straightforward process. Here’s a quick step-by-step guide:
- Wash your hands thoroughly
- Stand in front of a well-lit mirror
- Locate the earring back
- Hold the front of the earring steady
- Gently twist or push the back to loosen it
- Carefully pull the earring out
While this method works for most stud earrings, some situations might require a bit more finesse. Let’s dive deeper into each step.
Find Earring Back Easily
Finding the earring back is usually straightforward, but it can be challenging if you have long hair or if the back is small. Here are some tips:
- Use your fingers to feel for the back of the earring
- Push your hair away from your ear and secure it with a clip
- Tilt your head to the side to get a better view in the mirror
- If needed, ask someone to help you locate the back
Remove Back Gently
Once you’ve found the back, it’s time to remove it. Different types of earring backs require different techniques:
| Back Type | Removal Technique |
| Push-on | Gently pull straight off |
| Screw-on | Unscrew counterclockwise |
| Butterfly | Squeeze sides and pull |
| Lever | Flip the lever and pull |
Remember, patience is key. If you feel any resistance, don’t force it. Take a break and try again later.
Hold the Front of the Earring
While removing the back, it’s essential to keep the front of the earring steady. This prevents pulling on your earlobe and ensures a smooth removal. Use your thumb and index finger to hold the front gently but firmly.
How to Remove Stud Earrings That Are Stuck
Sometimes, earrings can become stubborn and refuse to budge. Don’t panic! Here are some strategies to try:
- Apply a warm compress to your earlobe for a few minutes to loosen the earring
- Use a bit of ear care solution or rubbing alcohol to lubricate the post
- Gently wiggle the earring back and forth while pulling
- If all else fails, seek help from a professional jeweller or piercer
“Never force an earring out. If it’s truly stuck, professional help is the safest option.” – Professional Piercer
Firm Grip Essential
A steady hand is crucial when removing stud earrings. Here’s how to maintain a firm grip:
- Rest your elbow on a flat surface for stability
- Take deep breaths to calm any nerves
- If your hands are shaky, ask someone to help you
Gentle Twist Technique
For earrings with screw-on backs or those that are slightly stuck, a gentle twisting motion can help:
- Hold the front of the earring steady
- Grip the back with your other hand
- Slowly twist back and forth while gently pulling
- The earring should gradually loosen and come out
Twist or Push the Earring Back
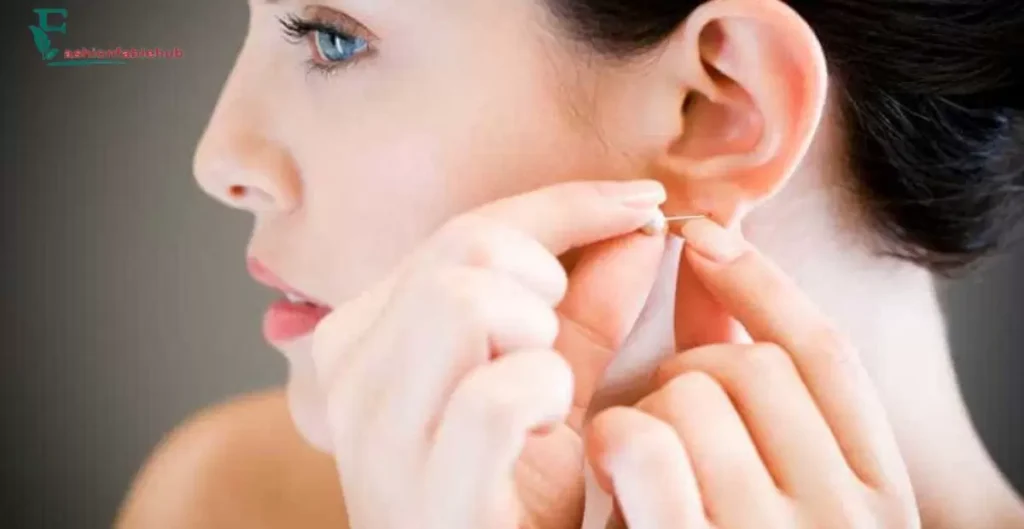
The method for removing the earring back depends on its type. Here’s a quick reference:
- Push-on backs: Pull straight off
- Screw-on backs: Twist counterclockwise
- Butterfly backs: Squeeze the sides and pull
- Lever backs: Flip the lever and pull
Always move slowly and gently to avoid irritating your earlobe.
How to Remove Stud Earrings for the First Time
If you’re removing stud earrings for the first time, it’s normal to feel a bit nervous. Here are some tips to make the process easier:
- Take your time and don’t rush
- Practice on a loose earring to get a feel for the process
- Have someone experienced nearby to help if needed
- Remember that it might feel strange, but it shouldn’t hurt
Case Study: Sarah, 14, was nervous about removing her first pair of stud earrings. She practiced on her mum’s earrings first, which helped her feel more confident when it came time to remove her own.
Remove the Earring Gently
Once the back is off, it’s time to remove the earring. Here’s how to do it safely:
- Hold the front of the earring between your thumb and index finger
- Gently pull the earring straight out
- If you feel any resistance, stop and reassess
- Never yank or pull forcefully
Remember, the key is to be gentle and patient.
Inspect Your Earlobe
After removing the earring, take a moment to check your earlobe:
- Look for any signs of irritation or infection
- Gently clean the area with a cotton swab dipped in ear care solution
- If you notice any unusual redness, swelling, or discharge, consult a healthcare professional
Clean and Store the Earrings
Proper care of your earrings will keep them looking great and prevent potential ear infections. Follow these steps:
- Clean the earrings with rubbing alcohol or jewellery cleaner
- Dry them thoroughly with a soft, lint-free cloth
- Store in a clean, dry place (preferably a jewellery box)
How to Remove Stud Earrings with Flat Backs
Flat back studs are popular for cartilage piercings and can be a bit trickier to remove. Here’s how:
- Locate the front of the earring
- Hold the flat disc at the back steady
- Unscrew the decorative front piece counterclockwise
- Once loose, gently pull the post out of your ear
If the flat back is internally threaded, you’ll need to twist the entire earring to remove it.
Conclusion
Removing stud earrings doesn’t have to be a daunting task. With the right technique and a bit of patience, you can safely take out your earrings at home. Remember to always be gentle, use clean tools, and seek professional help if you encounter any difficulties. Happy earring wearing
