Struggling with those tricky ball stud earrings? You’re not alone! Whether you’re a newbie to ear jewellery or helping your little one with their first pair, removing ball stud earrings can be a bit of a puzzle. But don’t fret – we’ve got you covered with this comprehensive guide. We’ll walk you through the process step-by-step, from cleaning to removal and even replacement. Plus, we’ll tackle some common questions and concerns along the way. So, let’s dive in and demystify the art of removing ball stud earrings!
Cleaning the Spot
Before you start fiddling with your earrings, it’s crucial to clean the area. This isn’t just about hygiene – it’s about making the whole process smoother and safer.
First things first, wash your hands thoroughly with soap and warm water. You don’t want to introduce any nasty bacteria to your ears, do you? Once your hands are squeaky clean, grab a cotton ball or pad and some rubbing alcohol.
Here’s a quick cleaning routine:
- Dip the cotton in alcohol
- Gently dab around the earring, front and back
- Let it air dry for a minute
This little routine does two important jobs:
- It disinfects the area, reducing the risk of infection
- It removes any built-up gunk that might be making your earring stick
Pro tip: If you’re dealing with a child’s earrings, you might want to use a gentler antiseptic solution. Chlorhexidine or saline solution work well and are less likely to sting.
Removing the Earring

Now comes the main event – actually removing the earring. Don’t worry, it’s not as tricky as it might seem at first glance.
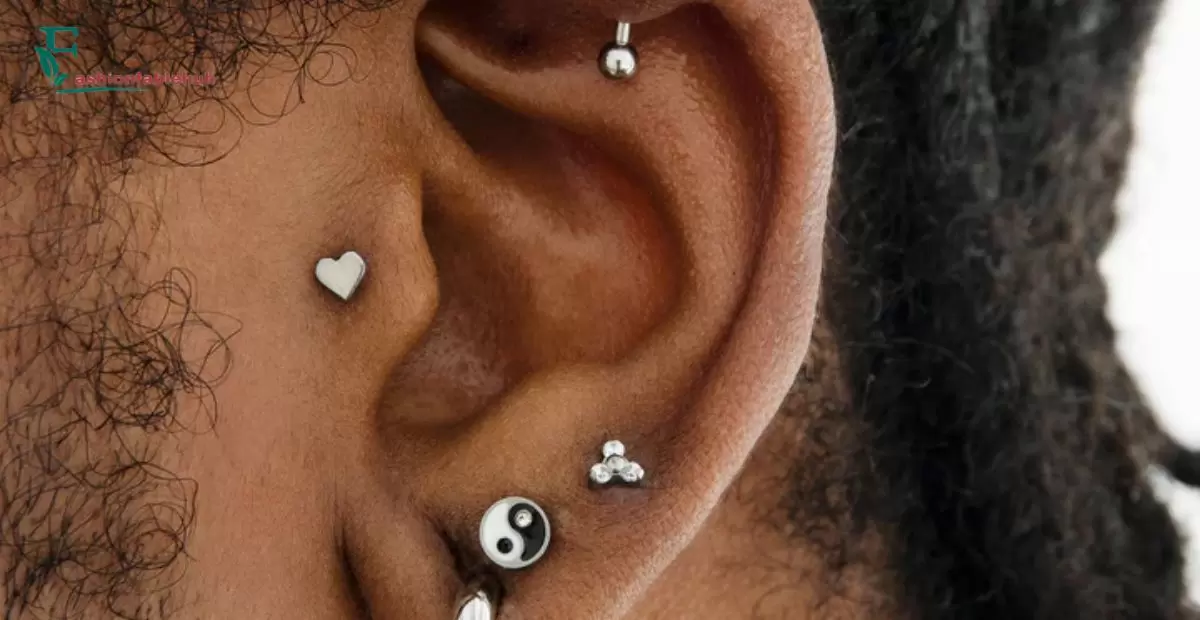
Ball stud earrings typically have two parts: the post (the bit that goes through your ear) and the ball backing. The ball is what keeps the earring in place, and it’s what we need to tackle first.
Here’s your step-by-step guide:
- Hold the front of the earring steady with one hand
- With your other hand, grasp the ball backing firmly
- Gently twist the ball anti-clockwise
- Keep twisting until the ball comes loose
- Once the ball is off, carefully slide the post out of your ear
Remember: If you’re removing earrings for the first time after getting your ears pierced, be extra gentle. Your ears might still be sensitive.
| Do’s | Don’ts |
| Be patient | Force the earring |
| Use clean hands | Yank or pull hard |
| Twist gently | Ignore pain or bleeding |
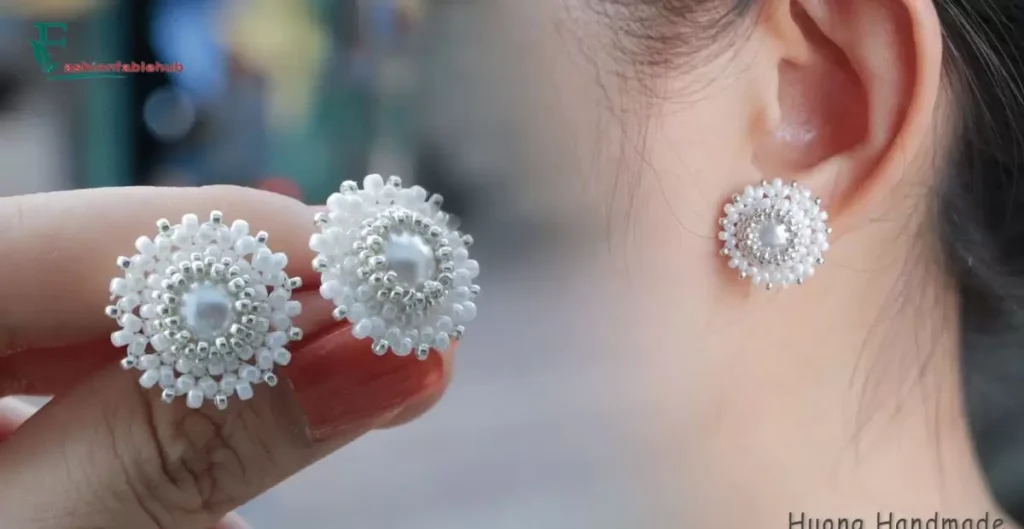
Replacing With a New Stud
Once you’ve mastered removing your ball stud earrings, you might want to switch things up with a new pair. Here’s how to do it safely:
- Clean your hands and ears again
- Choose your new earrings – make sure they’re made of hypoallergenic materials
- Gently insert the post through the front of your ear
- Secure the backing, twisting clockwise until it’s snug (but not too tight!)
Important: If you’ve just had your ears pierced, check with your piercer before changing earrings. They’ll let you know when it’s safe to switch to new styles.
Removing Ball Stud Earrings for Beginners at Home
Feeling a bit nervous about tackling this at home? Don’t be! With a little preparation, you can create a safe, clean environment for earring removal.
Here’s what you’ll need:
- Clean towel
- Rubbing alcohol or antiseptic solution
- Cotton balls or pads
- Good lighting
- A mirror
Set up your ‘earring removal station’ in a well-lit area. A bathroom counter or dressing table works well. Lay out your clean towel and supplies, and you’re good to go!
The Best Way to Remove Ball Stud Earrings
While the basic method we’ve outlined works well, there are a few tricks that can make the process even easier:
- Use a bit of lubrication: A dab of petroleum jelly around the ball can help it twist off more easily.
- Try different angles: If the ball won’t budge, try holding the earring at different angles as you twist.
- Use tools (carefully!): If you’re really struggling, rubber-tipped tweezers can give you a better grip. Just be very gentle to avoid hurting yourself.
Remember, the key is patience. If you’re finding it too difficult or painful, it’s best to seek help from a professional jeweller or your piercer.
Removing Ball Stud Earrings for Beginners in Urdu
For our Urdu-speaking friends, here’s a quick translation of the main steps:
- اپنے ہاتھ دھوئیں
- کان کے ارد گرد صفائی کریں
- بال کو پکڑیں اور آہستہ سے گھمائیں
- بال کو ہٹا دیں
- کان سے بالی کو نکال دیں
Remember, practice makes perfect. Don’t get discouraged if it takes a few tries to get the hang of it!
How to Take Off Ball Stud Earrings?
We’ve covered the basics, but let’s break it down even further:
- Prepare: Clean your hands and ears
- Position: Stand in front of a mirror with good lighting
- Grip: Hold the front of the earring with one hand
- Twist: Use your other hand to gently twist the ball anti-clockwise
- Remove: Once the ball is off, slide the post out of your ear
- Clean: Give your ears another quick clean
Top tip: If you’re having trouble gripping the ball, try using a small piece of rubber (like a pencil eraser) to give you more traction.
How to Take Out Starter Earrings for the First Time?
Taking out starter earrings for the first time can be a bit daunting. These earrings are designed to stay in place while your piercing heals, so they might be a bit more stubborn than regular earrings.
Here are some extra tips for first-timers:
- Wait until your piercing has fully healed (usually 6-8 weeks for earlobe piercings)
- Clean your ears thoroughly before attempting removal
- Be extra gentle – your ears might still be sensitive
- If you feel any pain or resistance, stop and consult your piercer
Remember, there’s no shame in asking for help. Many piercers are happy to show you how to remove your starter earrings safely.
How to Remove Kids’ First Earring?
Helping a child remove their first earrings requires a bit of extra care and patience. Here’s how to make it a positive experience:
- Explain the process: Walk them through what you’re going to do before you start
- Make it fun: Turn it into a game or special ‘grown-up’ moment
- Be gentle: Kids’ ears are extra sensitive
- Stay calm: If your child gets nervous, take a break and try again later
- Reward: Celebrate their bravery with a small treat or fun activity
Case study: 8-year-old Lily was nervous about removing her first earrings. Her mum made it into a special ‘spa day’ activity, complete with a fun hair style and nail painting afterwards. Lily was so distracted by the excitement that she barely noticed the earring removal!
Are Starter Earrings Hard to Remove?
Starter earrings can be a bit trickier to remove than regular earrings, but they’re not impossible. They’re designed to stay put while your piercing heals, which is why they might feel more secure.
Factors that can make starter earrings harder to remove:
- Tighter backing to prevent accidental removal
- Possible skin healing around the post
- Inexperience with earring removal
But don’t worry! With the right technique and a bit of patience, you’ll get there. If you’re really struggling, don’t hesitate to ask your piercer for help.
“Removing starter earrings is like learning to ride a bike – it might seem tricky at first, but once you get the hang of it, you’ll wonder why you ever found it difficult!” – Sarah, Professional Piercer
Conclusion
Removing ball stud earrings doesn’t have to be a daunting task. With a bit of know-how and practice, you’ll be switching out your earrings like a pro in no time. Remember, the key is to be gentle, patient, and clean. Whether you’re a beginner, a parent helping a child, or just looking for some tips to make the process easier, we hope this guide has been helpful.
Don’t forget – if you’re ever in doubt or experiencing pain, it’s always best to seek help from a professional. Happy earring adventures