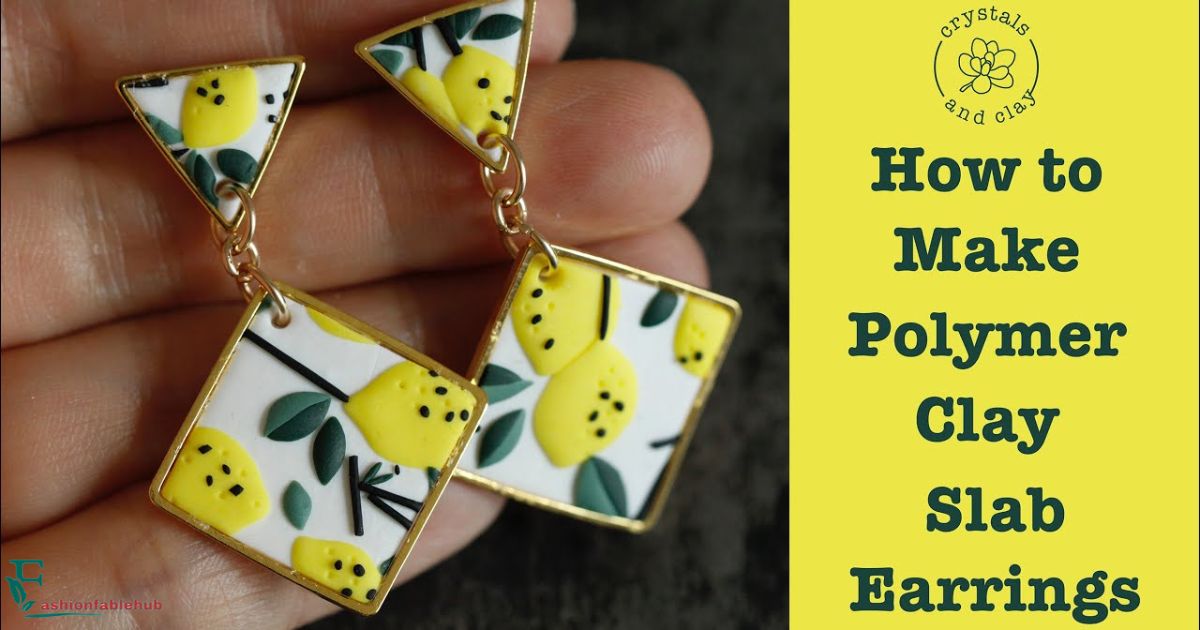
Making your own polymer clay earrings is a fun and rewarding craft project that allows you to create unique, personalized accessories. Polymer clay is a versatile material that can be molded, shaped, and baked to form durable, long-lasting pieces of jewelry. In this comprehensive guide, we’ll walk you through the entire process of creating beautiful polymer clay earrings, from choosing the right type of clay to adding the final touches.
What is Polymer Clay?
Polymer clay is a man-made modeling material composed of polyvinyl chloride (PVC) and a plasticizer. Unlike traditional clay, which requires firing in a kiln, polymer clay can be cured by baking it in a regular oven at a relatively low temperature. This makes it an ideal medium for creating jewelry, figurines, and other crafts at home.
Which Clay to Choose
When it comes to polymer clay, there are several brands and types to choose from. Some popular options include:
- Sculpey: One of the most well-known and widely available polymer clay brands, Sculpey comes in various formulations, including Sculpey III, Premo, and Souffle.
- Fimo: Fimo is another popular brand known for its high quality and wide range of colors.
- Kato Polyclay: Kato Polyclay is a premium polymer clay that is often favored by professional artists and crafters for its superior workability and strength.
When selecting a clay, consider factors such as its firmness, color range, and intended use. Softer clays may be better for intricate details, while firmer clays are better suited for structural pieces.
Supplies You’ll Need
Before you start making your polymer clay earrings, gather the following supplies:
- Polymer clay in your desired colors
- Clay conditioning machine or pasta machine (optional, but helpful for conditioning and mixing colors)
- Oven-safe surface or ceramic tile for baking
- Oven thermometer
- Tissue blade or clay knife
- Rolling pin
- Toothpicks or clay shaping tools
- Baking tray or ceramic tile
- Parchment paper or deli paper
- Earring findings (e.g., earring hooks, jump rings, earring backs)
- Jewelry pliers
- Sandpaper (optional, for smoothing baked clay)
- Glaze or varnish (optional, for adding a protective coating)
Prep Your Work Surface
Before you begin working with polymer clay, it’s essential to prepare your work surface. Cover your table or workspace with a smooth, non-porous surface, such as a ceramic tile, glass, or waxed paper. This will prevent the clay from sticking and make it easier to work with.
Conditioning Clay and Mixing Colors
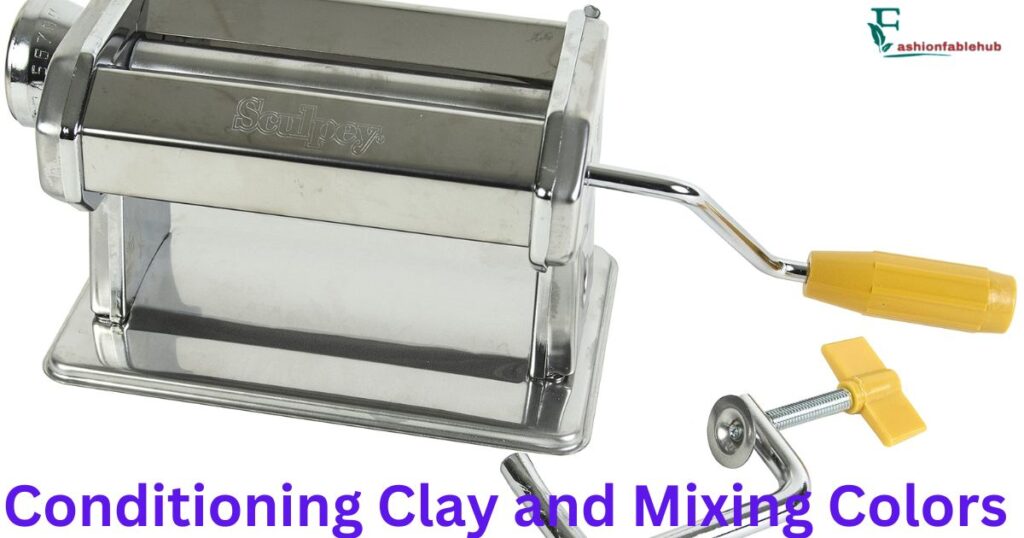
Polymer clay often comes packaged in a firm, compressed form. To make it more pliable and easier to work with, you’ll need to condition it. Here’s how:
- Break off a piece of clay and knead it in your hands until it becomes soft and pliable.
- If you’re using a clay conditioning machine or pasta machine, follow the manufacturer’s instructions for running the clay through the machine.
- Repeat the conditioning process until the clay is smooth and free of any cracks or lumps.
If you want to create custom colors or blend different shades of clay, you can mix them together using the following techniques:
- Fold and knead the clays together until they are fully blended.
- Use a clay conditioning machine or pasta machine to blend the colors thoroughly.
- Roll the clays together using a rolling pin or your hands.
Making Polymer Clay Earrings
Once your clay is conditioned and colored, it’s time to start shaping your earrings. Here are some popular techniques and designs to try:
Bead Earrings
- Roll the clay into small, even balls or oval shapes.
- Use a toothpick or clay tool to create designs or textures on the beads.
- Make a hole through the center of each bead using a toothpick or clay tool.
Stud Earrings
- Roll or press the clay into flat discs or shapes.
- Use stamps, molds, or clay tools to create patterns or designs on the surface.
- Make a hole or indent on the back of each earring for attaching the earring post.
Dangle Earrings
- Create a focal piece, such as a pendant, charm, or bead, using various shaping and texturing techniques.
- Attach the focal piece to an earring hook or jump ring using clay or jewelry findings.
- Add additional beads, charms, or dangles for extra interest.
Marbled or Swirled Earrings
- Blend different colors of clay together using the folding and kneading technique.
- Roll or press the marbled clay into your desired earring shape.
- Use a toothpick or clay tool to create additional swirls or patterns on the surface.
Baking Your Polymer Clay
Once you’ve shaped your polymer clay earrings, it’s time to bake them to cure the clay and set the design. Follow these steps:
- Preheat your oven to the temperature recommended by the clay manufacturer (typically between 215°F and 275°F).
- Place your polymer clay pieces on an oven-safe surface, such as a ceramic tile or baking tray lined with parchment paper or deli paper.
- Bake the clay according to the manufacturer’s instructions, typically for 15 to 30 minutes, depending on the thickness of your pieces.
- Use an oven thermometer to monitor the temperature and ensure accurate baking.
- Allow the baked clay to cool completely before handling.
Sealing, Sanding and Polishing
After your polymer clay earrings have cooled, you can optionally seal, sand, and polish them for a smooth, professional finish.
Sealing
Applying a sealant or varnish can help protect your polymer clay earrings from discoloration, scratches, and wear. Popular sealants include:
- Polymer clay glaze
- Acrylic varnish
- Polyurethane varnish
Follow the manufacturer’s instructions for applying the sealant evenly and allowing it to dry completely.
Sanding and Polishing
For a smooth, glossy finish, you can gently sand your polymer clay earrings using fine-grit sandpaper (600 grit or higher). Be careful not to oversand and distort the details or shapes of your earrings.
After sanding, you can polish your earrings using a soft cloth or a jewelry polishing cloth to achieve a high shine.
Finishings and Assembly

The final step in making your polymer clay earrings is to add the earring findings and any additional embellishments.
- Use jewelry pliers to attach earring hooks, jump rings, or earring backs to your polymer clay pieces.
- If you’re making dangle earrings, attach the focal piece to the earring hook or jump ring using jewelry findings or a small piece of clay.
- Add any additional beads, charms, or dangles as desired.
- Inspect your earrings for any rough edges or imperfections and carefully smooth or trim them with a tissue blade or clay knife.
And there you have it – your very own handmade polymer clay earrings! Wear them with pride, knowing that you’ve created unique, one-of-a-kind accessories that showcase your creativity and artistic skills.
Which Clay to Choose
When selecting a polymer clay for your project, there are several brands and types to consider. Here are some popular options:
- Sculpey III: One of the most widely available and affordable polymer clay brands, Sculpey III is a great choice for beginners and those on a budget. It comes in a wide range of colors and is relatively soft and easy to work with.
- Premo Sculpey: Premo is a high-quality polymer clay that is firmer and more durable than Sculpey III. It’s favored by many professional artists and crafters for its strength and versatility. Premo clay is available in a variety of colors and can be blended to create custom shades.
- Fimo: Fimo is a popular European brand of polymer clay that is known for its smooth workability and vibrant colors. It’s slightly more expensive than some other brands but is highly regarded for its quality and durability.
- Kato Polyclay: Kato Polyclay is a premium polymer clay that is favored by many professional artists and sculptors. It’s incredibly strong and durable, making it ideal for complex or structural pieces. However, it can be more challenging to work with for beginners due to its firmness.
- Souffle Sculpey: Souffle Sculpey is a lightweight, flexible polymer clay that is great for creating intricate details and textures. It’s slightly more expensive than Sculpey III but is loved for its smooth, velvety texture.
When choosing a polymer clay, consider factors such as your skill level, the type of project you’re working on, and your budget. Softer clays like Sculpey III and Souffle are great for beginners and delicate work, while firmer clays like Premo and Kato Polyclay are better suited for structural pieces and professional-level projects.
Which Clay to Avoid
While most polymer clays are safe and non-toxic when used as intended, there are some types of clay that should be avoided, especially for projects involving food or children’s toys:
- Polymer Clays Containing Phthalates: Some older or lower-quality polymer clays may contain phthalates, which are plasticizers that can be harmful if ingested or exposed to sensitive individuals. Look for phthalate-free clays, especially for projects involving food or children’s items.
- Air-Dry Clays: Air-dry clays, such as Das or Model Magic, are not suitable for baking and should not be used for projects that require curing in an oven.
- Ceramic or Earthenware Clays: Traditional ceramic and earthenware clays require firing in a high-temperature kiln and cannot be baked in a household oven.
When in doubt, always check the manufacturer’s instructions and safety guidelines for the specific clay you are using.
WHAT YOU’LL NEED
- Polymer clay in your desired colors
- Clay conditioning machine or pasta machine (optional, but helpful for conditioning and mixing colors)
- Oven-safe surface or ceramic tile for baking
- Oven thermometer
- Tissue blade or clay knife
- Rolling pin
- Toothpicks or clay shaping tools
- Baking tray or ceramic tile
- Parchment paper or deli paper
- Earring findings (e.g., earring hooks, jump rings, earring backs)
- Jewelry pliers
- Sandpaper (optional, for smoothing baked clay)
- Glaze or varnish (optional, for adding a protective coating)
Having the right tools and supplies on hand will make your polymer clay earrings project smoother and more enjoyable. Don’t forget to gather any additional embellishments or decorative elements you plan to incorporate into your earrings, such as beads, charms, or wire.
Conditioning and Mixing Clay
Polymer clay often comes packaged in a firm, compressed form. To make it more pliable and easier to work with, you’ll need to condition it before you start shaping and sculpting.
Conditioning Clay
- Break off a piece of clay: Start by breaking off a manageable piece of clay from the block or package.
- Knead the clay: Use your hands to knead and work the clay until it becomes soft and pliable. This process helps to warm up the clay and distribute the plasticizers evenly throughout the material.
- Use a clay conditioning machine: If you have a clay conditioning machine or pasta machine, you can run the clay through it to help condition and soften it more efficiently.
- Repeat as needed: Depending on the brand and type of clay, you may need to repeat the conditioning process several times until the clay is smooth and free of any cracks or lumps.
Mixing Colors
One of the great things about polymer clay is the ability to create custom colors by mixing different shades together. Here are some tips for mixing colors:
- Start with equal amounts of clay: To create a consistent color, start with equal amounts of each clay color you want to blend.
- Knead or roll the clays together: Use your hands to knead the different colors of clay together, or roll them together using a rolling pin or clay conditioning machine.
- Blend thoroughly: Continue kneading and mixing until the colors are fully blended and there are no visible streaks or swirls.
- Add small amounts of color: If you want to adjust the shade or create a more subtle blend, add small amounts of additional clay colors and mix them in thoroughly.
- Use a clay conditioning machine: For larger batches or more thorough mixing, a clay conditioning machine can help blend the colors more efficiently.
By conditioning and mixing your polymer clay properly, you’ll have a smooth, pliable material that’s ready for shaping and sculpting into beautiful earrings.
Baking Your Polymer Clay
Once you’ve shaped and sculpted your polymer clay earrings, the next crucial step is to bake them to cure the clay and set the design. Proper baking is essential for ensuring that your polymer clay creations are durable and long-lasting.
- Preheat your oven: Preheat your oven to the temperature recommended by the clay manufacturer, which is typically between 215°F and 275°F (100°C to 135°C). Use an oven thermometer to ensure accurate temperature readings.
- Prepare your baking surface: Line a baking tray or ceramic tile with parchment paper or a deli paper. This will prevent the clay from sticking and make it easier to remove the baked pieces.
- Arrange your clay pieces: Carefully arrange your polymer clay earrings on the prepared baking surface, leaving enough space between each piece to allow for even baking.
- Bake according to instructions: Place the baking tray or tile in the preheated oven and bake your polymer clay pieces according to the manufacturer’s instructions. Most clays require baking for 15 to 30 minutes, depending on the thickness of the pieces.
- Monitor the baking process: Check on your clay pieces periodically during the baking process to ensure they are not burning or discoloring. Use an oven light or a separate oven light to monitor without opening the oven door.
- Allow for proper cooling: Once the baking time is complete, remove the baked clay pieces from the oven and allow them to cool completely on the baking surface before handling or attempting to remove them.
It’s important to note that under-baking or over-baking your polymer clay can lead to issues such as brittleness, warping, or incomplete curing. Follow the manufacturer’s instructions carefully, and use an oven thermometer to ensure accurate temperature control.
Conclusion
Creating your own polymer clay earrings is an incredibly rewarding experience that allows you to tap into your creativity and artistic abilities. With some basic supplies and the techniques outlined in this guide, you can craft stunning, one-of-a-kind earrings that showcase your personal style.
Whether you’re a seasoned crafter or a beginner just starting out, working with polymer clay is a fun and accessible way to make beautiful, durable jewelry pieces. As you continue to practice and experiment with different colors, shapes, and techniques, your skills will grow, and you’ll be able to create increasingly complex and impressive designs. So don’t be afraid to let your imagination run wild – the possibilities with polymer clay are truly endless

As a seasoned fashion enthusiast with over 6 years of hands-on experience, I’m dedicated to sharing my expertise and passion for all things hair and earrings.